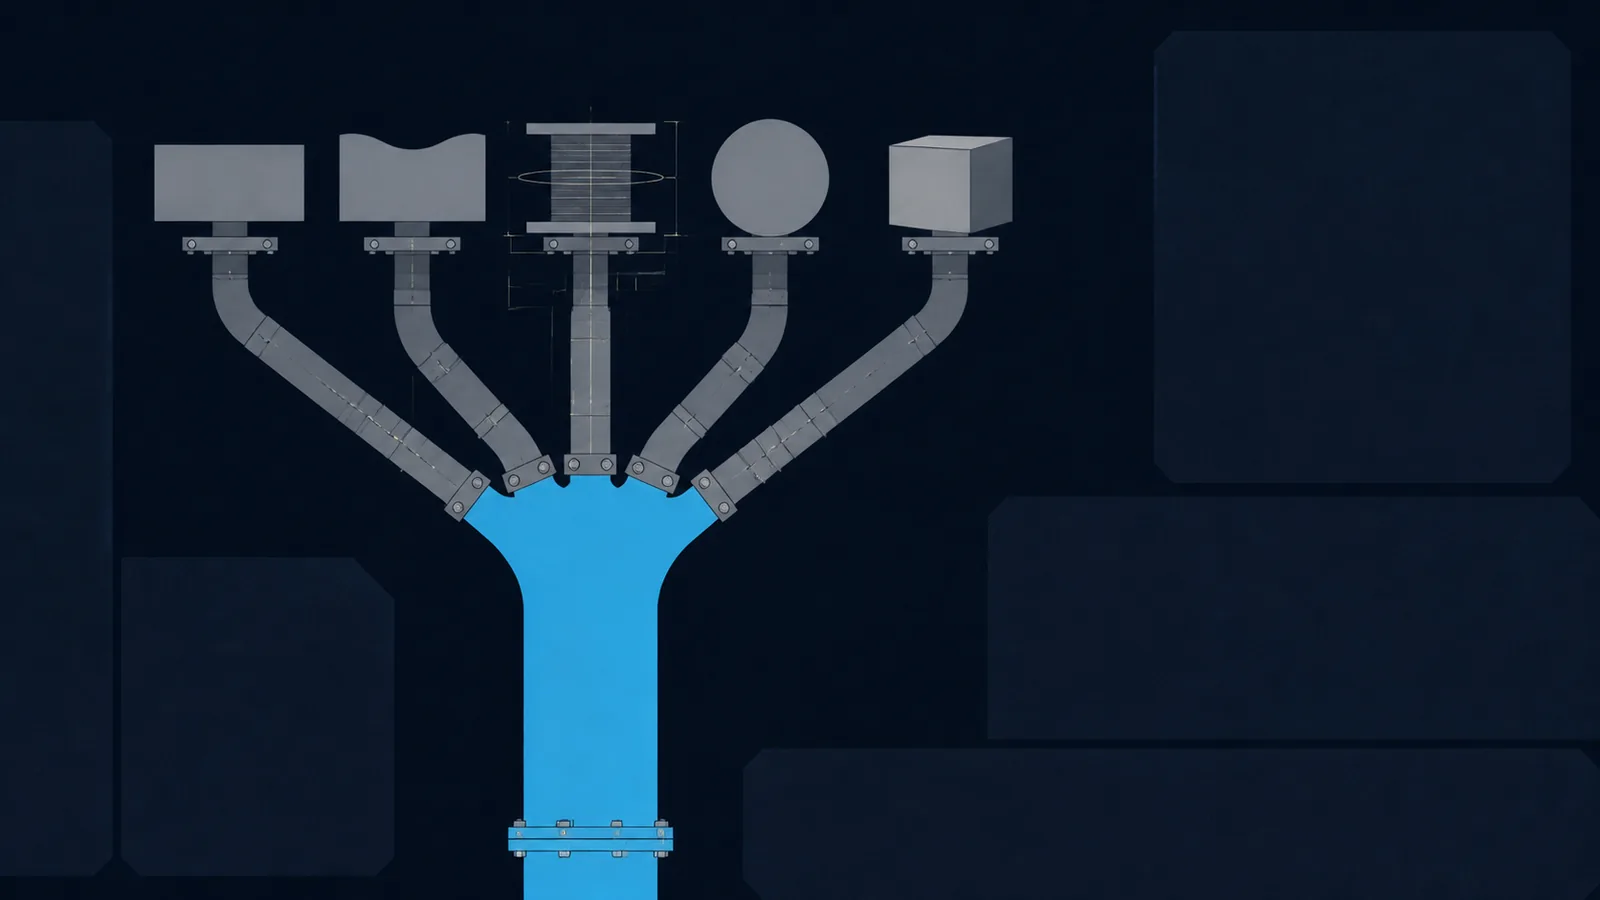
Forensics has a fixed opening move and a branching middle game
A forensics challenge hands you a file and a question. The file could be a photo, a song, a packet capture, a disk image, a memory dump, or a folder that used to be a git repository. The flag is hidden somewhere inside, and the entire skill is knowing where to look first, what the file actually is, and which tool peels back the next layer. Beginners freeze here because forensics feels like an open field with no map.
It is not an open field. It is a tree. The opening move is always the same three commands, and from there the file type tells you which branch to walk. This post is the map. It puts the forensics writeups on this site into a learning order, tells you what each one teaches in one line, and gives you a triage rule you can run before you have read a single tutorial. Read it top to bottom once, then keep it open as a hub and jump to the branch your file lands you on.
Forensics is not guessing. It is a decision tree rooted at three commands, and every branch is a file type you can name in the first ten seconds.
The triage rule: always start the same way, then branch
No matter what the file is, you run the same opening every time. These three steps cost ten seconds and answer the only question that matters at the start: what am I actually looking at?
The reason step one works is that formats identify themselves by contract, not by extension. The PNG specification mandates the 8-byte signature 89 50 4E 47 0D 0A 1A 0A, PKWARE's APPNOTE.TXT fixes ZIP local headers at 50 4B 03 04, and ELF opens with 7F 45 4C 46. file(1) matches against a libmagic database of thousands of these patterns and ignores the filename entirely, which is why it catches a JPEG named .png in milliseconds.
file mystery.bin. The file command reads the magic bytes at the start of the file and tells you the real type, ignoring whatever the extension claims. A.txtthat reports as PNG is the whole challenge in one line.strings -n 8 mystery.bin. Pull every run of printable characters. Flags, comments, base64 blobs, and embedded file paths fall out here constantly. Pipe togrep -i picobefore you do anything else.xxd mystery.bin | less. Open a hex view. Look at the first 16 bytes (the header) and the last 16 (the trailer). Anything appended after a valid end-of-file marker is a planted secret.
Only after those three do you branch. The branch is decided by what file reported:
| If file says | Walk this branch | First tools |
|---|---|---|
| PNG, JPEG, GIF, BMP | Images | exiftool, zsteg, stegsolve, binwalk |
| WAV, MP3, FLAC | Audio | Audacity, Sonic Visualiser |
| pcap, pcapng | Network captures | Wireshark, tshark |
| filesystem, partition | Disk | Autopsy, testdisk, mount |
| data, raw dump | Memory | Volatility 3 |
| a .git directory | Version control | git log, git reflog |
file, strings, and a hex view first, every single time. Half of all easy forensics challenges are solved before you ever open a specialized tool.The learning order at a glance
Below is the full path, easiest first. If you are starting from zero, work straight down the list. Each entry links the deep-dive post and tells you in one line what it teaches. Master First look before anything else; it is the trunk every other branch grows from.
- Hex dumps teaches you to read a file byte by byte and recognize structure with no tool but your eyes.
- File carving and magic bytes teaches you to identify and extract files hidden inside other files.
- Steganography techniques teaches the methods themselves: LSB, bit planes, appended data, and color tricks.
- Steganography tools teaches the toolchain that automates those methods: zsteg, steghide, stegsolve, and friends.
- EXIF and metadata teaches you to read the hidden fields every camera and editor writes into a file.
- Audio steganography teaches spectrograms, DTMF, and the LSB tricks that hide data in sound.
- Wireshark and pcap teaches you to follow streams, filter protocols, and pull files out of network traffic.
- USB and HID pcap teaches you to reconstruct keystrokes and mouse movement from captured USB traffic.
- Disk forensics teaches you to mount images, recover deleted files, and walk a filesystem for artifacts.
- Volatility memory forensics teaches you to pull processes, secrets, and files from a RAM dump.
- Git forensics teaches you to mine commit history, dangling objects, and the reflog for what was deleted.
The rest of this page groups those eleven posts by branch, so once you know your file type you can jump straight to the cluster you need.
First look: the trunk every branch grows from
Before any file-type-specific skill, you need to read raw bytes and recognize file boundaries. This is the trunk. Skip it and every later branch feels like magic you cannot debug. Learn it and the rest of forensics becomes pattern recognition.
- Hex dumps: how to read
xxdoutput, spot headers and trailers, recognize ASCII inside binary, and find the seam where one file was glued onto another. The single most transferable skill in all of forensics. - File carving and magic bytes: every file format starts with a signature (PNG is
89 50 4E 47, JPEG isFF D8 FF, ZIP is50 4B). That post teaches you to scan for those signatures withbinwalkand carve the embedded file out withforemostordd.
binwalk reports a ZIP embedded at an offset deep inside a PNG, you carve from that offset and unzip the result.Images: the most common forensics branch in picoCTF
If file reports PNG, JPEG, GIF, or BMP, you are on the image branch. This is the most heavily trodden path in beginner CTFs, so it is the first branch worth fully owning. There are three sub-skills, and they layer in this order: understand the techniques, learn the tools that run them, then check the metadata.
- Steganography techniques: the concepts. Least-significant-bit encoding, individual bit planes, alpha-channel tricks, palette manipulation, and data appended after the image end marker. Learn what is possible before you learn the tools, so the tool output means something.
- Steganography tools: the automation.
zstegfor PNG and BMP LSB,steghidefor JPEG and WAV with a passphrase,stegsolvefor flipping through bit planes by eye, andbinwalkfor appended archives. This is your image checklist. - EXIF and metadata: the quiet branch everyone forgets.
exiftool image.jpgdumps GPS coordinates, comment fields, author tags, and thumbnail images that sometimes differ from the main picture. Flags hide in the Comment and Artist fields constantly.
On the image branch, run the metadata check first. It is one command, it is free, and it solves more easy challenges than any stego tool.
Audio: when the flag is hiding in sound
If file reports WAV, MP3, or FLAC, you are on the audio branch. The data is hidden in the waveform, the frequency content, or the least significant bits of the samples. The branch is small but distinctive, and the giveaway is often that the audio sounds like static or noise rather than music.
- Audio steganography: open the file in a spectrogram view (Audacity or Sonic Visualiser) and the flag is frequently drawn as text across the frequency axis. This post also covers DTMF phone tones, Morse code in the amplitude, slow-scan television (SSTV) encoded in the audio, and LSB-in-samples hidden data. One branch, several decoders.
Network captures: reconstructing what crossed the wire
If file reports a pcap or pcapng, you have a recording of network traffic and the flag is somewhere in the conversation. The skill is filtering thousands of packets down to the few that matter, then reassembling the data they carried. This branch splits into general traffic and the special case of captured USB devices.
- Wireshark and pcap: the foundation. Follow TCP and HTTP streams, filter by protocol, extract transferred files with File > Export Objects, and read credentials out of plaintext protocols. Also covers
tsharkfor scripting the same work on the command line. - USB and HID pcap: the specialist case. When the capture is USB traffic from a keyboard or mouse, the keystrokes are encoded in HID (Human Interface Device) report bytes. That post teaches you to map those report codes back to the characters that were typed and reconstruct the flag the victim entered.
Disk and memory: the heavyweight branch
If file reports a filesystem, a partition table, or a large undifferentiated raw dump, you are at the deep end. These challenges are bigger, slower, and more realistic. They model real incident response: a snapshot of a machine, and a question about what happened on it. Two distinct sub-branches live here.
- Disk forensics: a disk image is a filesystem you can explore. Mount it read-only, or open it in Autopsy, recover deleted files with
testdiskandphotorec, and walk directories for planted artifacts. Deleted does not mean gone until the blocks are overwritten. - Volatility memory forensics: a RAM dump captures the live state of a machine. Volatility 3 lists the processes that were running, the command lines they were launched with, network connections, and secrets that never touched disk. This is where you find passwords, injected code, and files that existed only in memory.
Disk forensics asks what was stored. Memory forensics asks what was happening. Different questions, different tools, same branch of the tree.
Version control: the branch that hides in plain sight
Sometimes the artifact is a source directory, and the interesting part is its history. If you spot a .git folder, you are on the version-control branch. The current files may be clean while a deleted secret still lives one commit back.
- Git forensics:
git logandgit diffwalk the recorded history,git reflogsurfaces commits that were reset away, andgit fsck --lost-foundrecovers dangling objects that no branch points at anymore. A committed-then-deleted credential is still in the object store; this post teaches you to dig it out.
Where to practice, easy to hard
Reading the path is not learning it. These picoCTF challenges on this site map onto the branches above and are ordered here from easiest to hardest. Solve them in order and you will have exercised every branch of the tree at least once.
- picoCTF 2019 Glory of the Garden: the pure first-look challenge.
stringsand a hex view of a JPEG, nothing more. Start here if you have never solved a forensics problem. - picoCTF 2021 Information: the metadata branch. The flag lives in an EXIF field of an image. One
exiftoolrun plus a decode step. - picoCTF 2019 c0rrupt: the carving branch. A file with a damaged header that you repair by hand once you can read magic bytes in a hex editor.
- picoCTF 2019 m00nwalk: the audio branch. An SSTV-encoded transmission you decode out of a WAV file. The classic spectrogram-and-decoder challenge.
- picoCTF 2019 Shark on Wire 1: the capture branch. Open a pcap in Wireshark, follow the right stream, read the flag. Your on-ramp to network forensics.
Quick reference
The opening, every time
file mystery.binto learn the real type from magic bytes.strings -n 8 mystery.bin | grep -i picoto catch the lazy hides.xxd mystery.bin | lessto read the header and trailer by hand.- Branch on the type: image, audio, capture, disk, memory, or git.
Branch to first tool
- Image:
exiftool, thenzsteg,stegsolve,binwalk. - Audio: spectrogram view in Audacity or Sonic Visualiser.
- Capture: Wireshark, Follow Stream, Export Objects.
- Disk: Autopsy or mount read-only, then
testdisk. - Memory: Volatility 3 pslist, cmdline, filescan.
- Git:
git log,git reflog,git fsck --lost-found.
The whole discipline collapses to one sentence: run file, strings, and a hex view first, then let the file type pick the branch and the post that teaches it.
Sources and further reading
Forensics is format archaeology. Every branch of the triage tree ends in a specification that tells you where the interesting bytes are allowed to hide.
- Images and containers: the PNG specification (signature, chunks, and the terminal
IEND), ITU-T T.81 (JPEG), and PKWARE APPNOTE.TXT (ZIP, and why appended archives stay readable). - Metadata: the Exif 2.32 specification and ExifTool, which reads more formats than any other single tool.
- Network: the pcapng format and Wireshark's display filter reference.
- Tooling: file(1) and xxd(1) are the two commands the entire triage rule is built on.